Sunday, January 29, 2012

carbon fiber tricopter frame

The last tricopter frame was really light.  That was about the only good thing about it.  The wood was brittle, and broke at the joint of the T a couple of times.  It didn't take much to fix, but I wasn't pleased with how fragile it was.  

Wednesday, January 25, 2012

Canon Hacker Development Kit

Last week, I saw a discarded Canon point and shoot camera in the killzone.
  I snapped it up, because I'd read that there were cool software hacks for the cheaper Canon cameras.
The software I'd read about is called CHDK, which stands for Canon Hacker Development Kit.

Monday, January 23, 2012

machine tuners

 The uke's tuning pegs are frustratingly coarse when it comes to tuning, so I'm exploring replacing them with machine tuners.  Machine tuners put a reduction drive between the person who's tuning and the instrument, making more turns of the knob equate to a smaller change in pitch.


 I used the lathe to shape some brass into a taper that approximates that of the original tuning peg.  I made the middles thinner to add a bit more mechanical advantage to that reduction drive I was talking about earlier.


 These are the beginnings of the blocks that will hold the worm (screw) against the gear on the tuner.


---------------------------------------------------------------------------------------------------------

Update: 3/16/12

I never actually got around to finishing this for a couple of reasons.
1, I made the machine tuner pegs too short.  They didn't slide all the way into the head of the instrument..

and 2, I got over it.  Wood tuning pegs are more than sufficient for this lightweight uke.  I reshaped the ones that were giving me trouble and applied a bit of resin (epoxy minus hardener) to them.  After the resin dried out a bit, they got good and sticky.  Everything's cool now.

Also, I looked at a real violin up close the other day.  They're beautiful!  A truly fit design.

lighter tcopter

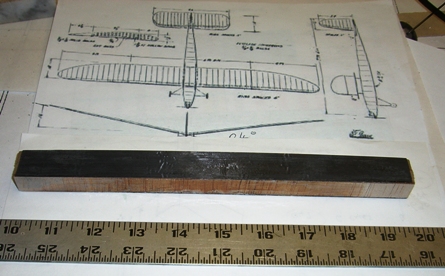
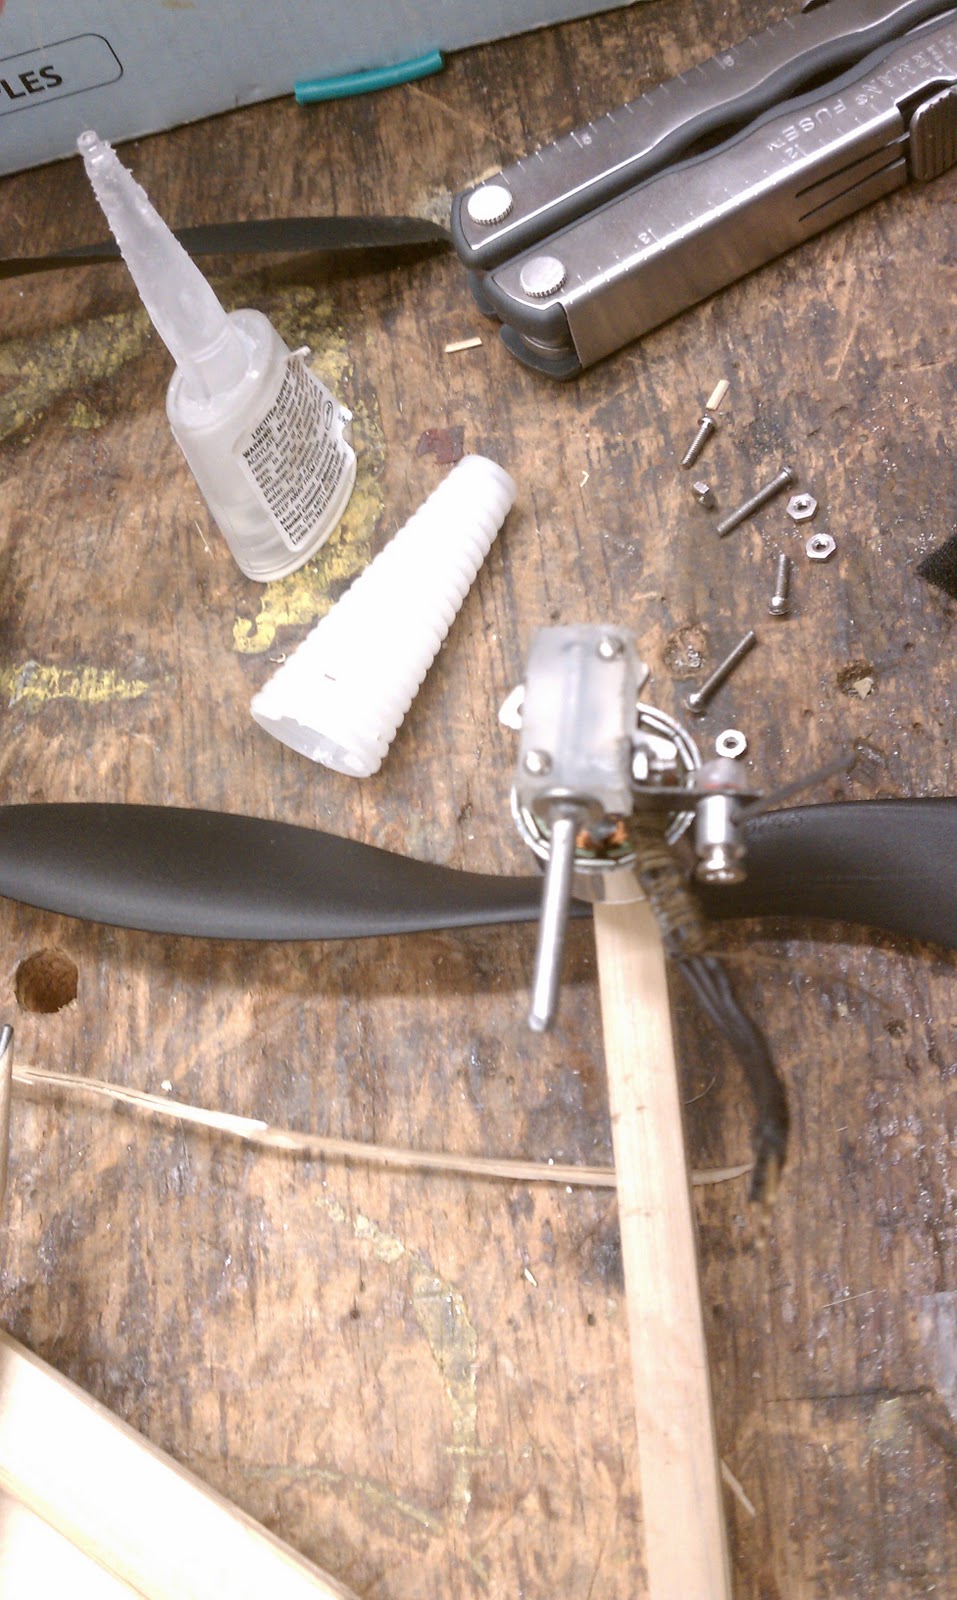
 after feeling the difference that only a few grams made in the last flight of tcopter, I'm going to try and make it super light and floaty again.  I switched the motors and props over to a balsa frame (still T-style).  The balsa has a much bigger cross section, but is still very much lighter than the bamboo I used before.  While moving the electronics over, I realized that a lot of the wasted weight is in the shield.
  The shield is a clunky 2mm thick fiberglass board that neatly connects the arduino to the sensors and speed controllers.  It keeps things tidy, but it's not worth the weight.

Time to make a new, lighter, more compact shield!

After desoldering stuff, I started with some protoboard.  Jordan urged me to learn Eagle so I could print a nice board, but I really wanted to get tcopter flying, so that will have to wait.
I sketched out the profiles of the components to position them properly.  I got rid of the unused pins that were soldered on to the other board, and that pesky LED that just mimics the one built into the arduino.


Now the sensors sit right next to the arduino.  They're mounted on foam tape.  The receiver is foam taped to the top of them to add some mass to the stack and hopefully dampen vibration a bit more.

I'm pleased with the compactness of this setup.  It gives only the functionality that tcopter needs without the bulk of the previous setup.
 Barebones-copter!
Using a crude balance, I determined that the battery weighs almost as much as the empty frame.  Sweet!  In an ideal setup, I suppose almost all of the weight would be the battery.  I'll have to use the scale at MITERS to get some numbers on this thing, but it sure feels lighter.  And while I'm certain the frame has shed a few grams, I'm curious as to how the balsa will hold up to crashes.

Only time will tell.


Wednesday, January 18, 2012

snow things

Boston weather momentarily stopped being unusual when it snowed a couple of days ago.  It's mid January, and that was only the second snow this year!  Super strange... anyway, there's more in the forecast, and I've taken to preparing.
When I saw that it was snowing a couple of days ago, I immediately went into sled mode.  2x4s were hastily cut and screwed together.  No measuring necessary!
I even cut out some steel flashing and screwed it to the runners to (hopefully) make it slide a bit better


In other news, I went to MITERS this evening for the Balancing Things Colloquium!  Charles talked about Segfault and LandBearShark, Jordan showed off her (somewhat) balancing skateboard, and Shane demoed his extremely low budget segway.  The drivetrain is nothing more than a couple of cordless drills zip-tied to a piece of wood.  The wheels even go in their chucks!  4PCB was also present as a controls example.  There was lots of talk about PID loops and tuning, which was awesome!

But wait, there's snow much more to talk about:
 While the talks were happening, I got to work on another project.  Not too long ago, I crufted a lonely looking skateboard deck.  When it snowed, I took it outside to play around with.  Being very slippery, it showed great potential.  The only problem was that it was hard to keep oriented in one direction, let alone steer.

  At MITERS, I found a couple sections of aluminum tubing.  I figured I could attach them lengthwise to the underside of the deck to make it travel straight.

 I had to bend the sections to fit the contours of the board.  The nice upturned tail begs to be manual'd

I flattened the ends of the tubes, then drilled holes to bolt them to the board.  This is only really to keep the ends in place while I slather the thing in epoxy
 The tubes flexed a bit in the middle, so I drilled some more tiny holes in the board to poke wires through.  I looped the wires around the tubes, then twisted them on the top of the board to snug the tubes down against the bottom.  I'll remove them later after the epoxy cures.
  And here it is epoxying over the MITERS trash bin!
The epoxy was unlike any epoxy I've worked with before.  I mixed a small batch, and it was very runny.  I waited a few minutes for it to cure, checking on it every minute while I listened to the balancing-things talk.  It was heating up normally, but still runny, then all of a sudden, the whole thing turned to gel -- Like very hard, chewy, sticky Jello from hell.

After being totally taken by surprise, I mixed up another batch and applied it to the board, still runny.  That's why the board is over a trash can.  I didn't want it to drip on any nice things.

And it looks like the epoxy will have just enough time to cure before the snow starts.. sweet!

Monday, January 16, 2012

Tcopter flight testing and more ukulele

After some minor controls hiccups, I got tcopter flying.
Thanks to Annie for filming.
One thing I noticed right away about the flight was that it was less floaty, zippy.  It seemed sluggish compared to beforehand.  Now, the setup is a bit heavier than last time, but only by maybe thirty grams.  Then again, that's about 15% more than last time.  Too bad Newton wouldn't let me get away with that.

Each experience I have like this reminds me to KEEP THINGS LIGHT!  When they're light, they take less force to move, so they can stay in the air longer.  Of course, I could slap on a bigger power system to give it more force to thrash around, but then the frame would have to to be built (heavier) to withstand the extra force.

I'm currently looking into solutions for making a really light frame that can still take some abuse.  One trick that I learned from some friends in DBF was to sandwich end-grain balsa wood between sheets of carbon fiber.  It makes super light (not much heavier than balsa) and very stiff spars.  
first google result for "end grain balsa spar"
After I have some more lab experience, I'd like to try using these as arms.   I bet I could make the whole frame that way.  But for the time being, I might just try balsa arms.  Balsa is pretty brittle on its own, so I'll probably reinforce it with some kind of stiff fiber (thin strips of bamboo?).   Also, I want to keep this project accessible to DIYers without going over the top with high tech materials.

In other news, I've been having a lot of fun with the ukulele (when it's in tune).  The nut is slightly angled, so the distance from it to the first fret is just a bit longer than it should be for the low string.  I made a quick fix by sticking a chunk of bamboo under the string shoved up against the nut.
  I'll rip the nut off and re position it later.
Also, I've noticed that some of the drier days make the pegs shrink and slip.  I can still tune them, it's just a bit more involved than I'd like.  Being that it's IAP, I drew up some plans for machine tuners:

I planned on using a drywall screw as the worm gear, filing off the unnecessary bits of screw.  I was also thinking of cutting the large gear myself.. with a hacksaw.  This will have to wait for another long weekend, because I fear it will take many hours.
Before you tell me that I can buy cheap and much nicer machine heads for a few dollars each, just let me say that my stubbornness to buy as little and make as much as possible for this uke has held strong.
Machine tuners will happen.  

Wednesday, January 11, 2012

16g HK motor troubleshooting

Well, when I tested it, it just jerked around and got really hot.  That was disappointing and a bit frustrating after having spent a really long time winding it.  After a bit of interweb browsing, I found the issue.  I'd followed the wrong winding pattern.  So I used three wires, each one wrapped around three poles, all wound in the same direction.  That was cool.  The problem was that  I didn't respect the start and end points of the winding pattern seen below:
In the diagram, I accidentally put End A next to start C... or something like that.  Luckily it was an easy fix.  I just unwound the improperly wound wire and redid it correctly.
Functioning motor functions!  Now to get T-copter flying....

Tuesday, January 10, 2012

16 gram HK motor winding

 Tiny motor is tiny!
Currently the only thing stopping T-copter from flying is this flukey motor. It arrived with a broken wire, but luckily the break was somewhat exposed and I was able to solder it back together.
I somehow managed to break that connection and another while removing it from the antiquated tricopter frame.  d'oh!

Being stubbornly frugal, and having never wound a stator before, I decided to try and rewind it rather than dropping a mere $9 on a new one.

The wonky motor wires on the left are held together with thread and superglue after the first surgery.


 I had no hammer, but a toolcomm hatchet was happy to help in loosening the press fit shaft.  A tiny E clip held the shaft at the mounting end of the motor, and the bell hangs on to it with a pair of unreasonably tiny set screws.


 I made sure to diagram carefully while unwinding.  I believe this is a delta winding.  The stator has nine poles, and each length of magnet wire wraps around three of them.   I counted 28 turns around each pole.

...more unwinding.  The windings were messy and glued, so after I got the scheme of things, I just went at it with wire cutters.

bare stator!
 Here's my first attempt at winding.  The wire I used (28 gauge) was just ever so slightly thicker than the original, so I started running into problems when I started winding adjacent poles.

It was at this point when I realized I had very little knowledge of what all of this meant, so I begged Julian for help.  He explained that the number of winds plays a part in determining how much torque the motor can produce.  More winds means more torque, at the cost of top speed.

T-copter values torque,  so I opted to go with a lighter gauge wire to pack more winds on there.  I unwound the stator to start again.

This time, I used 30 AWG magnet wire.  It seemed a tiny bit thinner than what was originally used, but that should be okay, because it's presumably of higher quality than the shady wire that is used to create nine dollar motors.
 I did 30 turns around each tooth.  I probably could have fit a couple more, but that'll have to wait until next time.
Done and tapped back together!
A check with the multimeter says there are no shorts, and each of the resistances are the same.  With any luck it will work.  Testing report to come

Sunday, January 8, 2012

T-copter

Yay more tricopter!

It's taken me a while to realize that a "Y" style frame may not be the best for my tricopter.  Because the props are mounted upside-down, there isn't much space left for the battery left underneath the center of the frame.  There's enough space, but a triangular frame makes it awkward to mount the battery without extra hardware.

Enter T-copter!


just look at that sexy orthogonality.

This new frame holds the motors in the exact same positions as the last one, but it should give me more "hard points" for mounting things.  The battery is attached in the middle of the T, just under the geometric center.  It requires only one velcro strap to hold it in place as opposed to the confusing and not-all-that-effective pile of straps and pieces of foam in the last version.

Making the frame
I cut some more pieces of bamboo from a long (stalk? shoot?) with a flush cut saw and then split them lengthwise and cleaned them up with a knife.  MITERS doesn't really stock high tech aerospacey materials like carbon fiber and end grain balsa, but they do have bamboo.


I tore the old yaw assembly off of the old frame and positioned it on the new one.  When it comes to fastening things, I'm a big fan of wrapping and gluing.  The shaft that the motor block pivots on is an aluminum rivet.  To attach it to the frame, I tack it with a drop or two of CA (superglue), then wrap the two together with some thin and flexible steel wire (the kind they use for hanging pictures).  After dousing that with a bit more glue, it gets very strong and stiff. 

After I attached all of the motors, I noticed that the longer beam (the vertical of the 'T') was a bit flexy.  I'm probably overbuilding, but I lashed another thin piece of bamboo to the underside of the beam in question.  After gluing, megastiffness was restored.

I put all of the electronics on to test (it hadn't been started for a while), but the rear motor wasn't really working.  It just jerked around like it had before when one of the windings was broken.  Derp.  I guess I didn't do a very good job soldering it back together last time.
Anyway, I'll take care of that soon and hopefully get it in the air.  I don't expect flight characteristics to change that much.  Hopefully not-flight (crash) characteristics will be improved though.  :)